カメラの位置の設定
カメラの位置を設定するときにはsetPosition関数を使用します。
local gamera = require 'gamera'

function love.load()
  cx, cy = 0, 0

  camera = gamera.new(0, 0, 1200, 800)
  camera:setPosition(cx, cy)

  cvs = createTestBackground()
end

function love.draw()
  camera:draw(function(l, t, w, h)
    love.graphics.draw(cvs, 0, 0)
  end)
end

function love.keypressed(key, scancode, isrepeat)
  if key == "left" then
    cx = cx - 120
  elseif key == "right" then
    cx = cx + 120
  elseif key == "up" then
    cy = cy - 80
  elseif key == "down" then
    cy = cy + 80
  end

  camera:setPosition(cx, cy)
end

-- ===========================================
-- テスト用背景の作成
-- ===========================================
function createTestBackground()
  cvs = love.graphics.newCanvas(1200, 800)

  love.graphics.setCanvas(cvs)
  local lenW = cvs:getWidth() / 40 - 1
  local lenH = cvs:getHeight() / 40 - 1

  for i = 0, lenH do
    for j = 0, lenW do
      if i == 0 or i == lenH or j == 0 or j == lenW then
        love.graphics.setColor(0.0, 0.0, 0.0)
      elseif i == 1 then
        love.graphics.setColor(0.3, 0.3, 0.3)
      else
        love.graphics.setColor(0.7, 0.5, 0.35)
      end

      local x, y = j * 40, i * 40
      love.graphics.rectangle("fill", x, y, 40, 40)
    end
  end
  love.graphics.setCanvas()
  love.graphics.setColor(1, 1, 1)

  return cvs
end

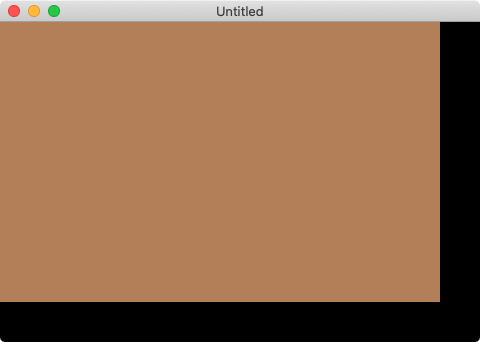
テスト用にRPGの部屋っぽい背景を描画させています。キーボードの上下左右を押すとカメラの位置を移動します。カメラの移動によって画面の表示を変更しているため、背景画像の描画位置は変更していません(14行目)。